


A poorly optimized or misconfigured microphone leads to substandard sound quality. Your audience will struggle to grasp the content of your speech because of the poor intelligibility, noise, and distortion. Even a high-quality mic will never capture clean signals when poorly optimized, which makes the recordings muffled and hollow.
Optimizing your mic can guarantee a professional-sounding broadcast. You can avoid frustrating your listeners. Regardless of whether it is a competitive gaming, corporate presentation, or podcast, optimizing your mic is integral for a digital first impression.
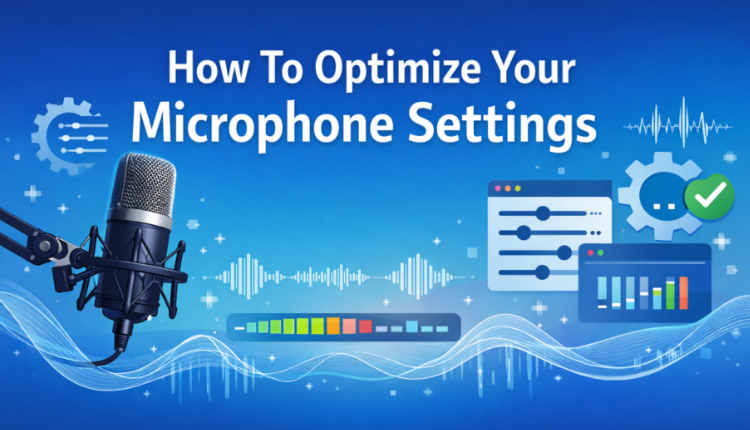
Many tools exist for diagnosing microphone issues. The best ones can systematically refine the audio chain, making it better and more audible. Professionals and individuals can leverage these tips to optimize their microphone settings.
1. Leverage Real-time Testing to Establish a Baseline
Before you invest in software adjustment, understand the audio profile. Use a real-time visualizer to tell the microphone’s input gain. The best digital microphone test can tell the power of the microphone. As you speak into your microphone, check whether the volume meter reacts to your voice. The best mic test will show in the middle zone of the meter when you speak into it.
Where the visualizer consistently hits the red zone, it shows the microphone has audio issues. The sound will probably be harsh or distorted, making the listening experience awful. Also, if the waveform barely moves, it shows the levels are exceptionally low. You realize that increasing the volume will introduce unwanted background hiss.
2. Perform Advanced Compression and EQ Tuning
Do you know that modern USB microphones and headsets have software that supports compression and equalization?
Optimizing these elements requires digital signal processing (DSP). Mic equalization sculpts the sound to eliminate the muffling and boost the high-mids, which increases intelligibility. You can even apply a High Pass Filter to cut distracting low frequencies from influencing the voice.
Fine-tuning the compression can make the sound better. A compressor lowers the volume of the loudest shouts and raises the sound of the quietest whispers. Such effects are sure to make the output smooth and consistent. Consequently, your audience will barely need to adjust the volume knob to get a clear sound.
3. Proper Mic Positioning
Physical positioning issues are impossible to solve with software fixes. A poor positioning of the mic can make the sound inaudible. People must realize that the distance between the capture and the mouth must be strategic for optimal audio engineering.
One of the issues you must address is the proximity effect. For dynamic microphones, stay two to six inches from the mic. This approach can boost lower frequencies, producing that warm radio sound effect. Avoid being close to the mic, as that can force the mic to produce the harsh B and P sounds.
The off-axis addressing can resolve issues with your breath hitting the microphone directly. You want to angle the mic to the side of your mouth, avoiding direct contact with your lips. It ensures the sound waves can reach the diaphragm without blasting the air directly into the mic.
4. Configure the Software and OS Levels
After addressing the physical aspect of mic settings, the next step involves examining the operating system. MacOS and Windows have built-in gain sliders, acting as the gatekeeper for the sound. Without proper tuning, these sliders can impact the efficiency of the operating system.
In the sound control panel of your computer, set the input to the point where the loudest speech never peaks. Avoid setting the OS volume to 100%, as that could cause background noise. The most recommended setting for the input is 70% to 80%.
Also, move closer to the microphone to yield a cleaner signal. You should also disable the automatic gain control (AGC) to avoid the volume from pumping up and down unexpectedly.
5. Manage Environmental Factors
Do you know that noisy environments can impact the clarity of your microphone sound?
Even expensive microphones sound mediocre in rooms with ambient noise and echo. You can resolve the issue by optimizing the environment for optimized sound quality. Utilize curtains, a bookshelf with books, and rugs to improve the acoustics. These elements absorb the sound waves, preventing them from bouncing off hard walls.
You can leverage communication platforms such as Discord or Zoom’s AI-powered noise suppression. These features can remove issues like clicking keyboards and barking dogs. However, never use extreme noise suppression levels, as that can make the sound robotic. Instead, focus on maximizing the sound quality with optimized environmental conditions.
Wrapping Up
Microphone optimization is never a one-and-done task. It is more of an iterative process of testing, adjusting, and re-testing the sound quality. Use a reliable visual test to test the mic gain.
That provides the grounding for effective physical placement. Proper physical adjustment also gives the leeway for effective software polishing. These adjustments ensure the voice from the mic reaches the target audience in the best quality possible.
The best microphone settings produce a natural sound. Leverage advanced technology to lift the voice and avoid distractions. Several intentional adjustments to the digital chain and environmental conditions can transform the audio from mere utility into a powerful communication tool.
You can also leverage the power of AI-powered features in modern communication platforms to suppress environmental noise. These tools can avoid situations where the sound from your microphone feels robotic.